Where to land on the Purgatory Map in Free Fire
You've certainly heard of the famous Purgatory Map in Free Fire . It is, without a doubt, one of the most challenging scenarios, full of secrets, strategic areas, and places that can define your victory or your early elimination. However, what makes this map a true field of tension is its mountainous configuration, a huge river that cuts everything in half, and regions full of highs and lows, always requiring you to think carefully before moving.
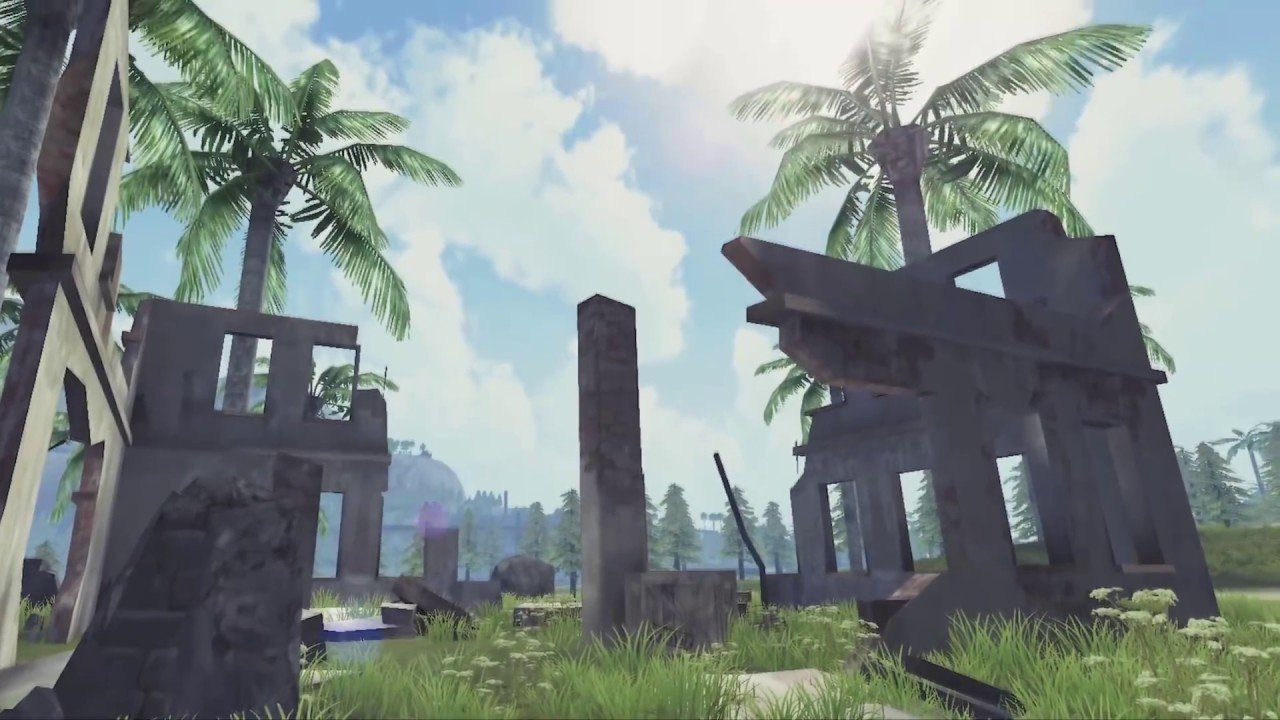
Now, if your intention is to understand exactly where to land, where to find equipment, and which places are the safest or most dangerous, continue reading. This complete guide to the Purgatory Map in Free Fire will help you. Check it out!
Brasilia
Brasilia is undoubtedly the main location on the Purgatory Map in Free Fire . Many confrontations take place here, precisely because it's a region full of buildings and houses with valuable loot. The amount of weaponry you find in this city is absurd. Rifles, submachine guns, high-level vests and backpacks are everywhere, but while this is advantageous in some ways, it's also an invitation to chaos.
Anyone entering Brasilia needs to have two things very clear: decisiveness and quick movement. Gunfights are constant here, and any slip-up means being taken down in seconds.
Central
If there's a place on the Purgatory map in Free Fire that comes close to the danger level of Brasilia, that place is Central. Despite being smaller, the volume of loot is excellent and, therefore, always attracts many competitors. The most striking detail of Central is its two-story houses. These buildings offer good opportunities to catch opponents off guard. But, at the same time, any carelessness can turn you into the next victim.
Central also offers a privileged view of two key bridges on the map. This means you can control the flow of people trying to cross, but you also run the risk of being observed by those already positioned there.
Golf Course
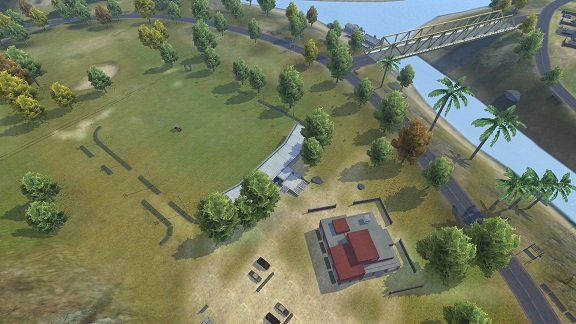
Unlike the locations already mentioned, Golf Course is the spot that strikes a good balance between risk and reward on the Purgatory Map in Free Fire. Here, you'll find excellent equipment, recovery kits, and long-range weapons. However, its unique feature is its location.
The open field offers incredible visibility of approaching players, especially towards the bridges. If you like to position yourself well, observe movements, and choose when to attack, Golf Course makes a lot of sense. Not to mention that, being relatively close to Brasilia and Central, you can make quick decisions if you want to engage in a confrontation or simply position yourself better.
Ski Lodge
If you're a sniper, Ski Lodge needs to be on your route whenever you land on the Purgatory Map in Free Fire. It's one of the highest points and consequently offers a clear view of a large part of the map. Furthermore, long-range equipment is always readily available here. Sniper rifles, long-range scopes, and abundant ammunition are practically guaranteed.
On the other hand, leaving this region isn't always easy. The location, despite being strategic, isn't very user-friendly if the safe zone closes in on another part of the map. Descending from there on foot, without a planned route, could be your biggest mistake.
Marbleworks
Want to avoid initial confrontations but still get quality equipment? Marbleworks is the place to be within the Purgatory Map in Free Fire . This area has a good amount of loot, scattered buildings, and many escape routes. The number of people who land here is usually lower compared to Brasilia and Central, which provides enough time to equip yourself without being in as much danger.
Fields
Fields is another location on the Purgatory Map in Free Fire that deserves attention. It's a large area, basically composed of farms, silos, and some isolated buildings. Because it's not in the center of the map, the flow of opponents at the beginning tends to be lower. This doesn't mean it's 100% safe, so it's good to always be aware of nearby movements.
The upside is that the loot here is decent, especially if you know how to navigate the right buildings. Additionally, another advantage is the multiple exit routes, which give you the freedom to choose your next move without getting caught in ambushes.
Campsite
In the corner of the Purgatory Map in Free Fire, Campsite offers a more relaxed atmosphere at the start of the match. Here, you'll find enough loot to arm yourself and protect yourself, especially if you're avoiding major centers. It's a more remote area, good for those who want to start with less risk, develop their strategy, and then advance to more central locations.
The key here is not to become complacent. Although it's calmer at the beginning, as the safe zone closes in, it's natural for other players to pass through. So keep your attention heightened.
Lumber Mill

Lumber Mill is that location on the Purgatory Map in Free Fire that seems simple, but it might surprise you. It's an area made up of lumber yards; some buildings have a good amount of loot scattered around. It's perfect for those who want to land, grab weapons quickly, and move on to other areas.
The loot isn't the best compared to Golf Course or Brasilia, but it's more than enough for the first few minutes of the game. The advantage here is the open spaces, which help avoid surprises and traps. Just watch out for snipers, as visibility also works against you.
Crossroads
Crossroads occupies a strategic point on the Purgatory Map in Free Fire . The region, which connects to various parts of the map, serves both as an escape route and as a smart combat point. The loot here isn't the most abundant, but it gets the job done.
The real advantage of Crossroads lies in the routes it offers. From there, you can quickly move to areas like Golf Course, Brasilia, or even Marbleworks, depending on the game situation.
Now that you know each of the main regions of the Purgatory Map in Free Fire, it's much easier to make smart decisions. Good luck with your gameplay and may you get the BOOYAH!.
